An hour or so of watching YouTube later, I was ready to begin! :-)
Each scrap was cut into approximately a 4.5" by 1.5" strip. Some were thinner, some longer and a few shorter, based on what I had (and what I didn't bother to cut down.) Each of these strips was then cut on the diagonal from corner to corner. For the strips with a lot of white in the background, I lightly distressed the edges with a coordinating bright color.
I cut a base out of Recollections basic white card stock to 6.25" x 4.75" and covered the whole thing with Zig 2-Way Glue. Using my grid mat, I found the horizontal middle and laid my first strip along this line, just eye-balling the vertical center. I wasn't too worried about the vertical line, since the center would be cut out later anyway.

Randomly choosing colors, each strip is placed with the point in the middle, and completely butted-up against the piece next to it.

This is where the long-term tackiness of the 2-Way Glue comes in handy. If the lines started to seem somewhat off centered, I would adjust by pushing the strip slightly farther in, making sure I had a larger strip, or possibly pulling it out from center slightly. The finished result of this process was rather odd looking.

Turn the whole thing over and it makes a little more sense!

I found it easiest to use my ruler and rotary knife to cut the edges off straight. Now the center was definitely less than perfect, but not a problem!

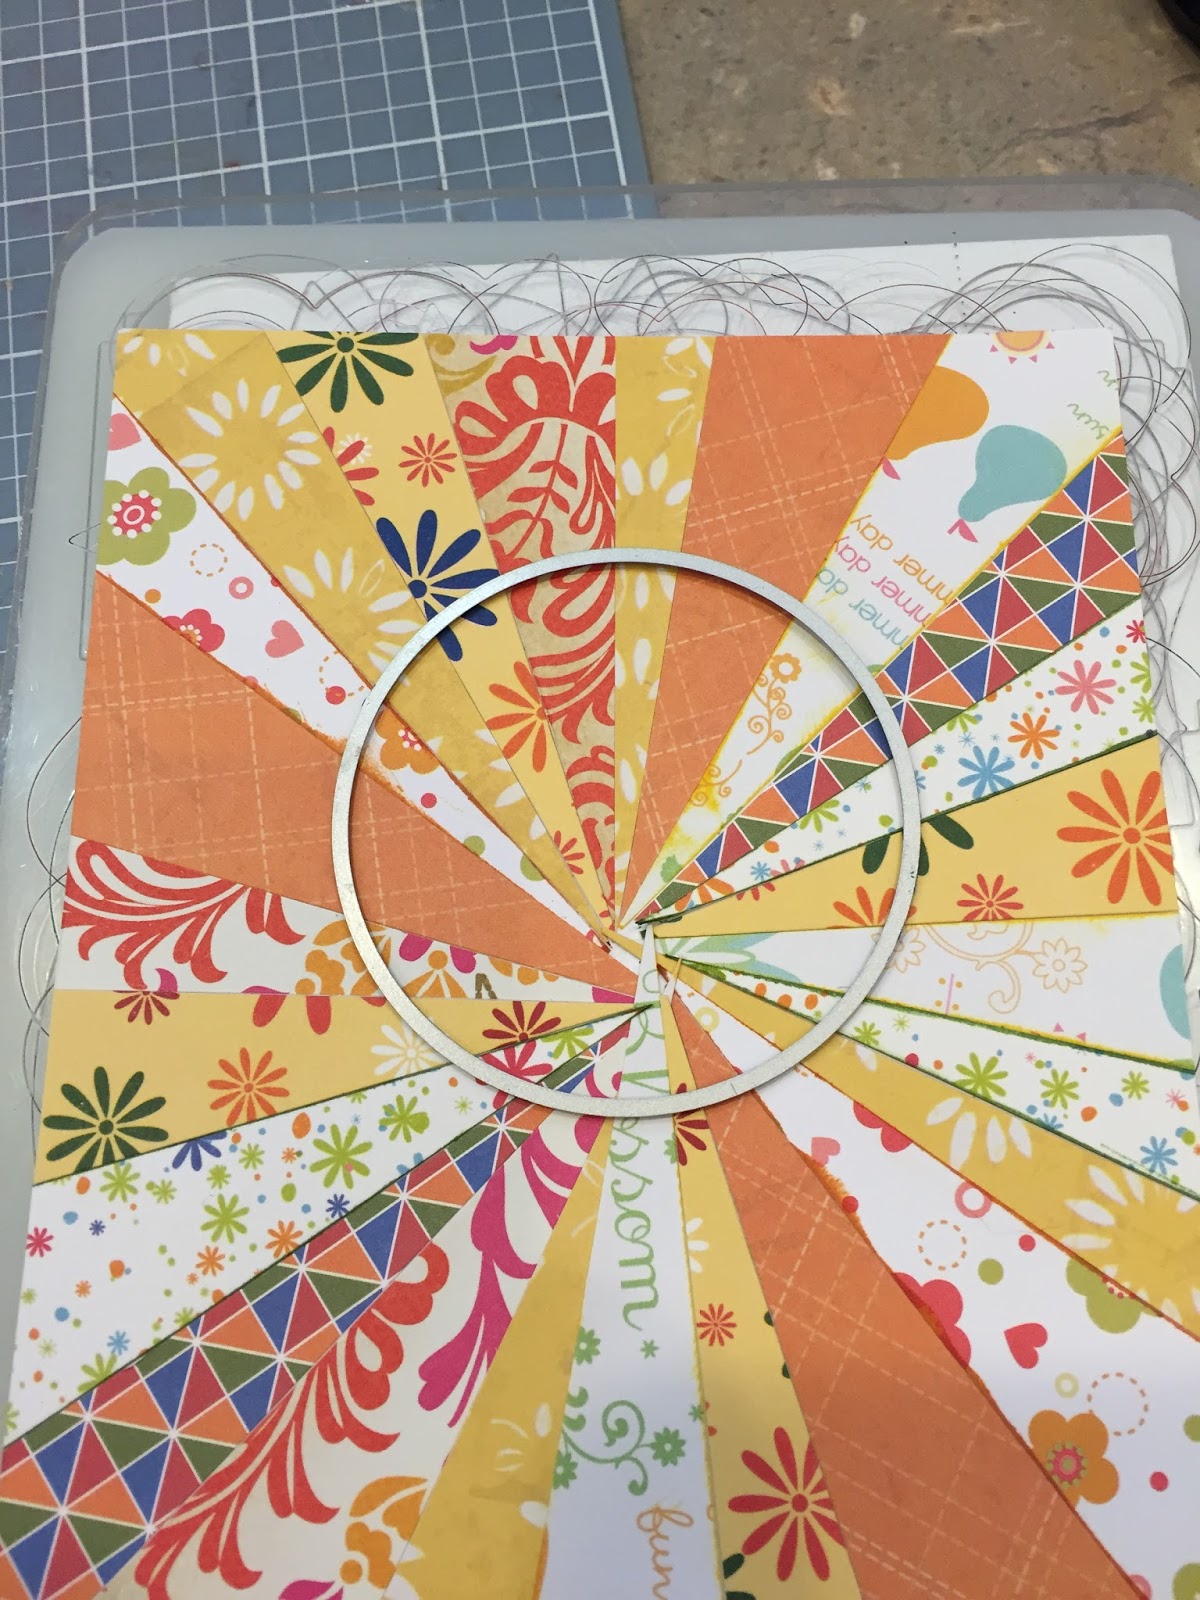
I didn't want my circle exactly in the middle, as I wanted to leave space at the bottom for ribbon and a bow. Using my Circle Framelit die, I centered it horizontally, but just barely over the circle at the bottom.
The sentiment was stamped with Versafine Black ink, and the stamp is actually from a set of Fairies. This was heat embossed with Recollections Clear Embossing Powder. I prefer the clear whenever possible, as it doesn't leave any little black specks in my image.
I do no have a magnetic base plate, so I use washi tape to hold my dies in place! This is a Sizzix framelit. I chose these framelits so that the circle cut in the starburst was just slightly larger than this scalloped one. I did decide the white circle needed to be distressed around the edges with Summer Sun from Stampin' Up!

I am absolutely in LOVE with this light yellow silk-y ribbon from Hobby Lobby! It's so pretty and ties so well!

Using a white base is very popular right now, but I still wanted to make this card even more bright and Springy! So I cut a base of Bazzill "Glow" at 6.5" by 5".
Ok, here's where it gets a little complicated. First, do NOT stick your sentiment down yet.
One of my cheats is using 3M dimensional tape rather than pop-dots. I use my rotary knife to cut a strip of tape as wide as the starburst base. Then I slice this into thirds, making 3 narrow strips of the same length.

I tend to do a little over-kill with the dimensional tape, because I hate the idea of it getting completely warped in the mail. When placing the tape around the circle opening, make sure to stay a bit away from that inside edge, so the tape won't be seen.

NOW...Place adhesive on the back of the sentiment piece and SET it on the yellow card base--do NOT press it down. Just get it as close to the right placement as possible. Lay the starburst piece centered on the yellow base. A piercing tool works great for the fine-tune adjusting of the sentiment piece. Only once you're SURE the sentiment is where you want it, do you press it in place. :-)

I am completely thankful for my MISTI for helping me get my inside sentiments straight, the first time, every time! Phew! I did not emboss the interior message.

I am very pleased with the outcome! Thanks for looking!!

No comments:
Post a Comment